SharePoint Online Guide: Image Gallery Web Part
Purpose: The Image Gallery web part allows site owners to display multiple images in a clean, grid-style layout. It’s ideal for showcasing photos, visual resources, or branding materials directly on a SharePoint page.
Adding the Image Gallery Web Part
- Navigate to the page where you want the gallery.
- Select Edit at the top right of the page.
- Hover over the section where you want to add the gallery and click the + icon.
- From the web part picker, choose Image Gallery.
Adding Images
- Upload directly: Add images from your device.
- Select from SharePoint: Choose images stored in document libraries.
- Drag and drop: Quickly place images into the gallery.
Configuration Options
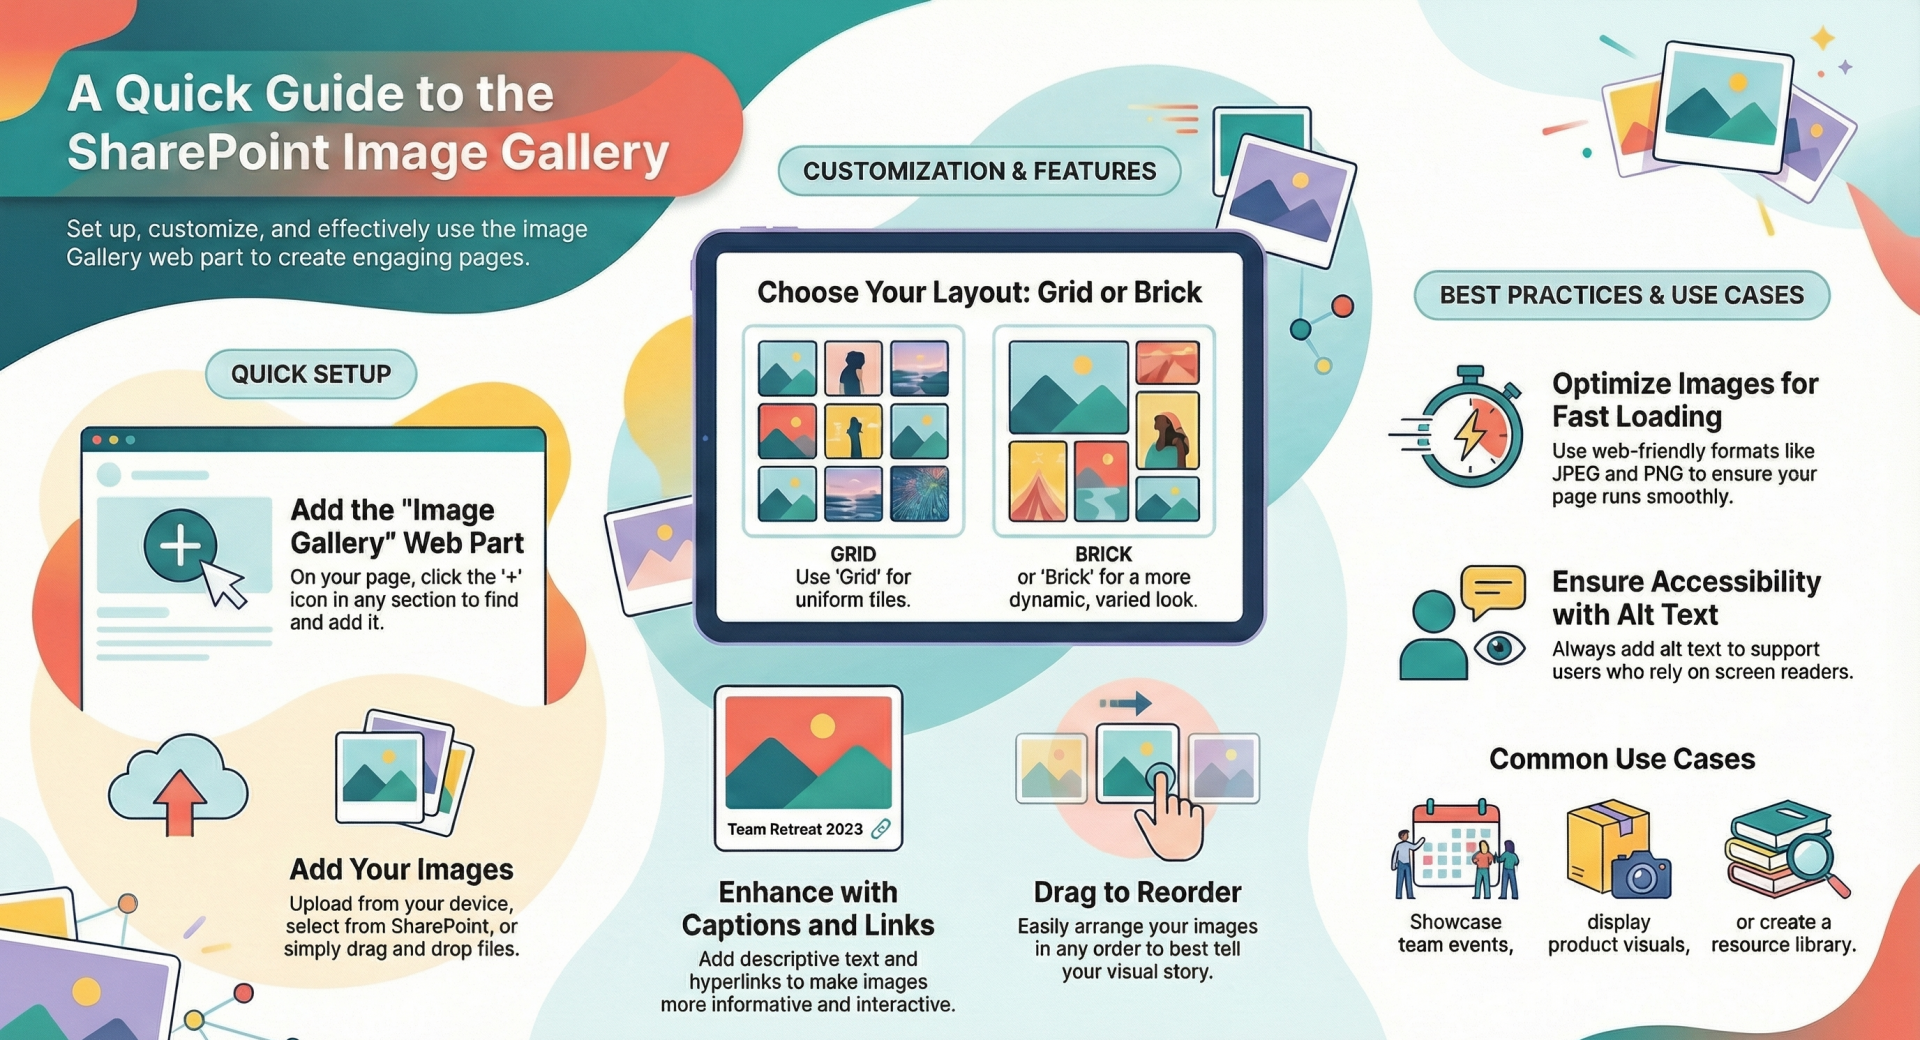
- Layout: Choose between:
- Grid – images displayed in equal-sized tiles.
- Brick – images displayed in varied sizes for a dynamic look.
- Captions: Add descriptive text for each image.
- Links: Assign hyperlinks to images for navigation or resource access.
- Reordering: Drag images to rearrange their display order.
Best Practices for Site Owners
- Optimize image sizes: Use web-friendly formats (JPEG, PNG) to ensure fast loading.
- Use descriptive captions: Helps users understand context and improves accessibility.
- Keep galleries focused: Avoid overwhelming users with too many images.
- Test links: Ensure linked images point to the correct resources.
- Accessibility: Always add alt text for images to support screen readers.
Use Cases
- Highlighting team events or milestones.
- Displaying product or service visuals.
- Creating a visual resource library.
- Enhancing communication sites with engaging imagery.
Key Takeaway
The Image Gallery web part is a simple yet powerful tool for making SharePoint pages visually engaging. By combining clear captions, optimized images, and thoughtful layout choices, site owners can create galleries that are both attractive and functional sharepoint-mentor.com.